Installation
A complete guide on how to install MineBot for both beginners and experienced users.
Video Guide (Deprecated)
Follow along with our step-by-step video tutorial to quickly install and run MineBot:
1. Download Bot
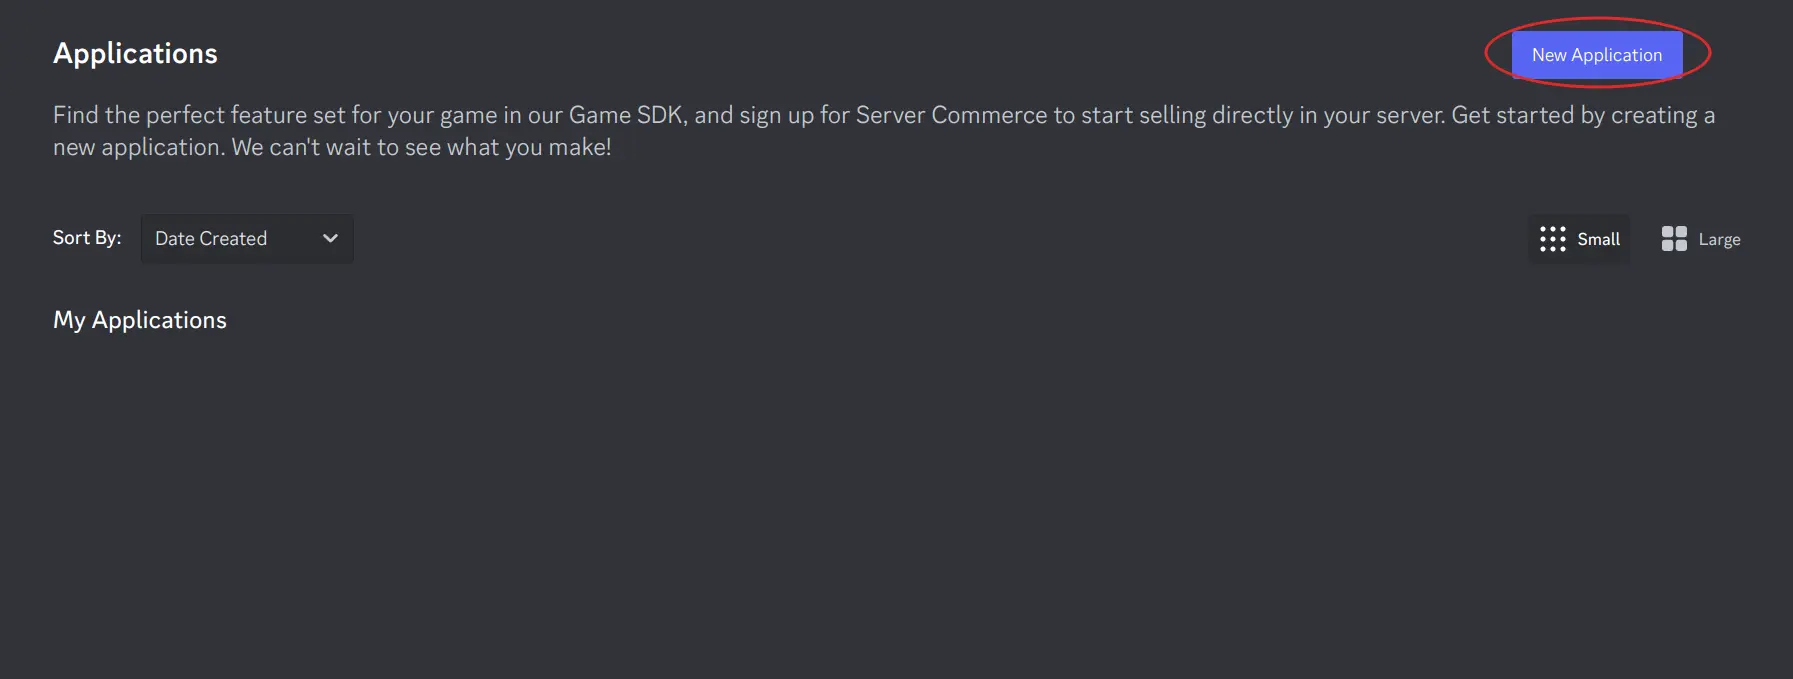
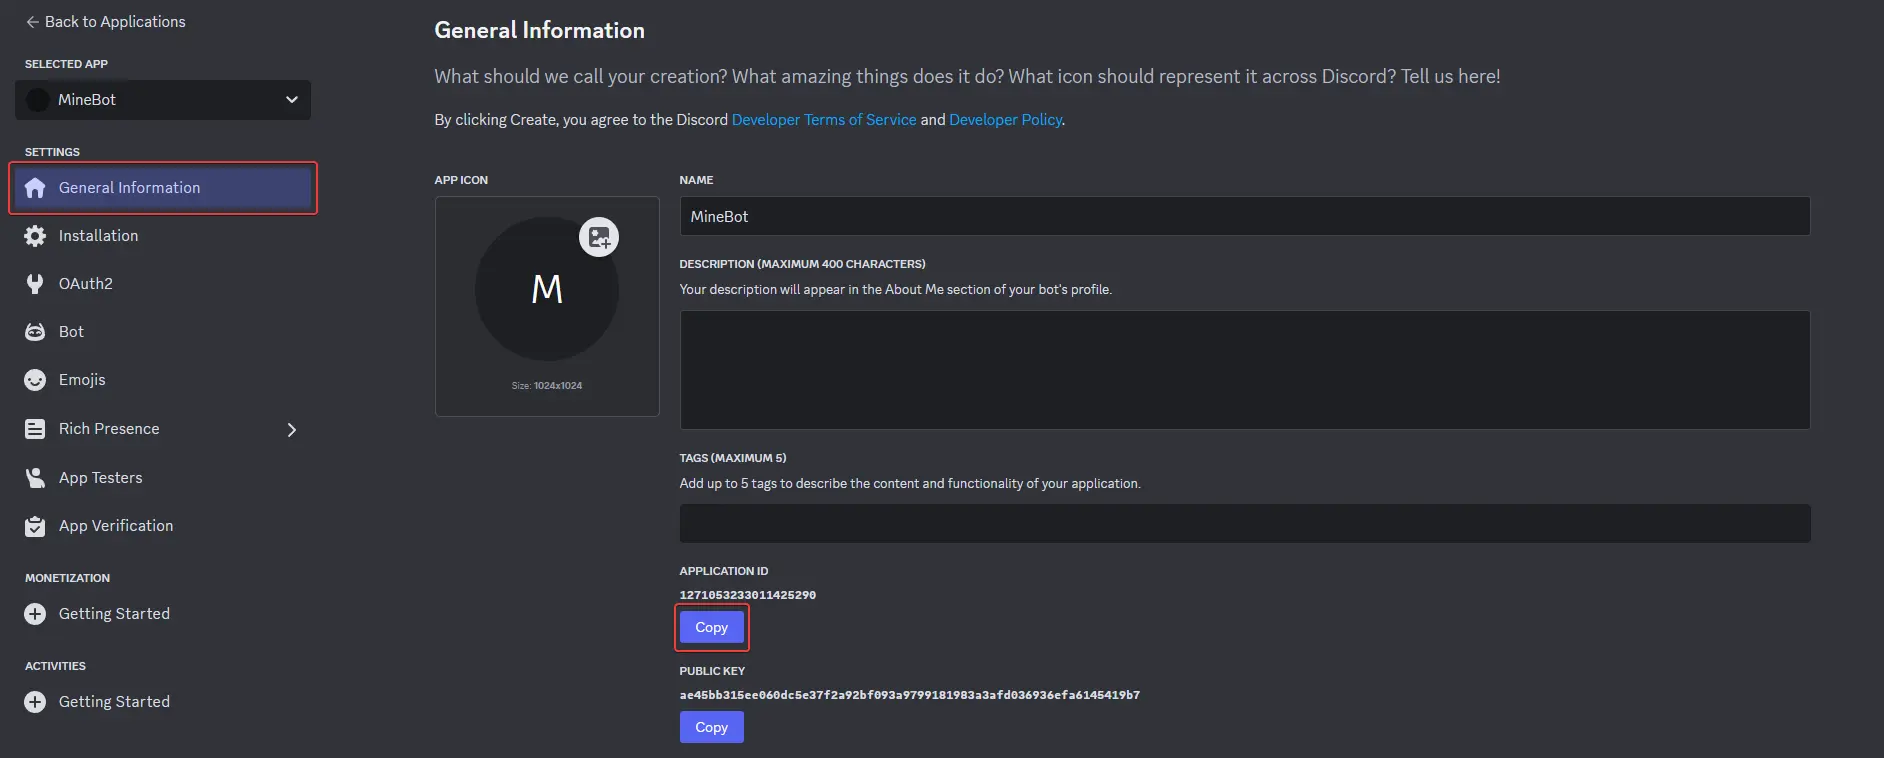
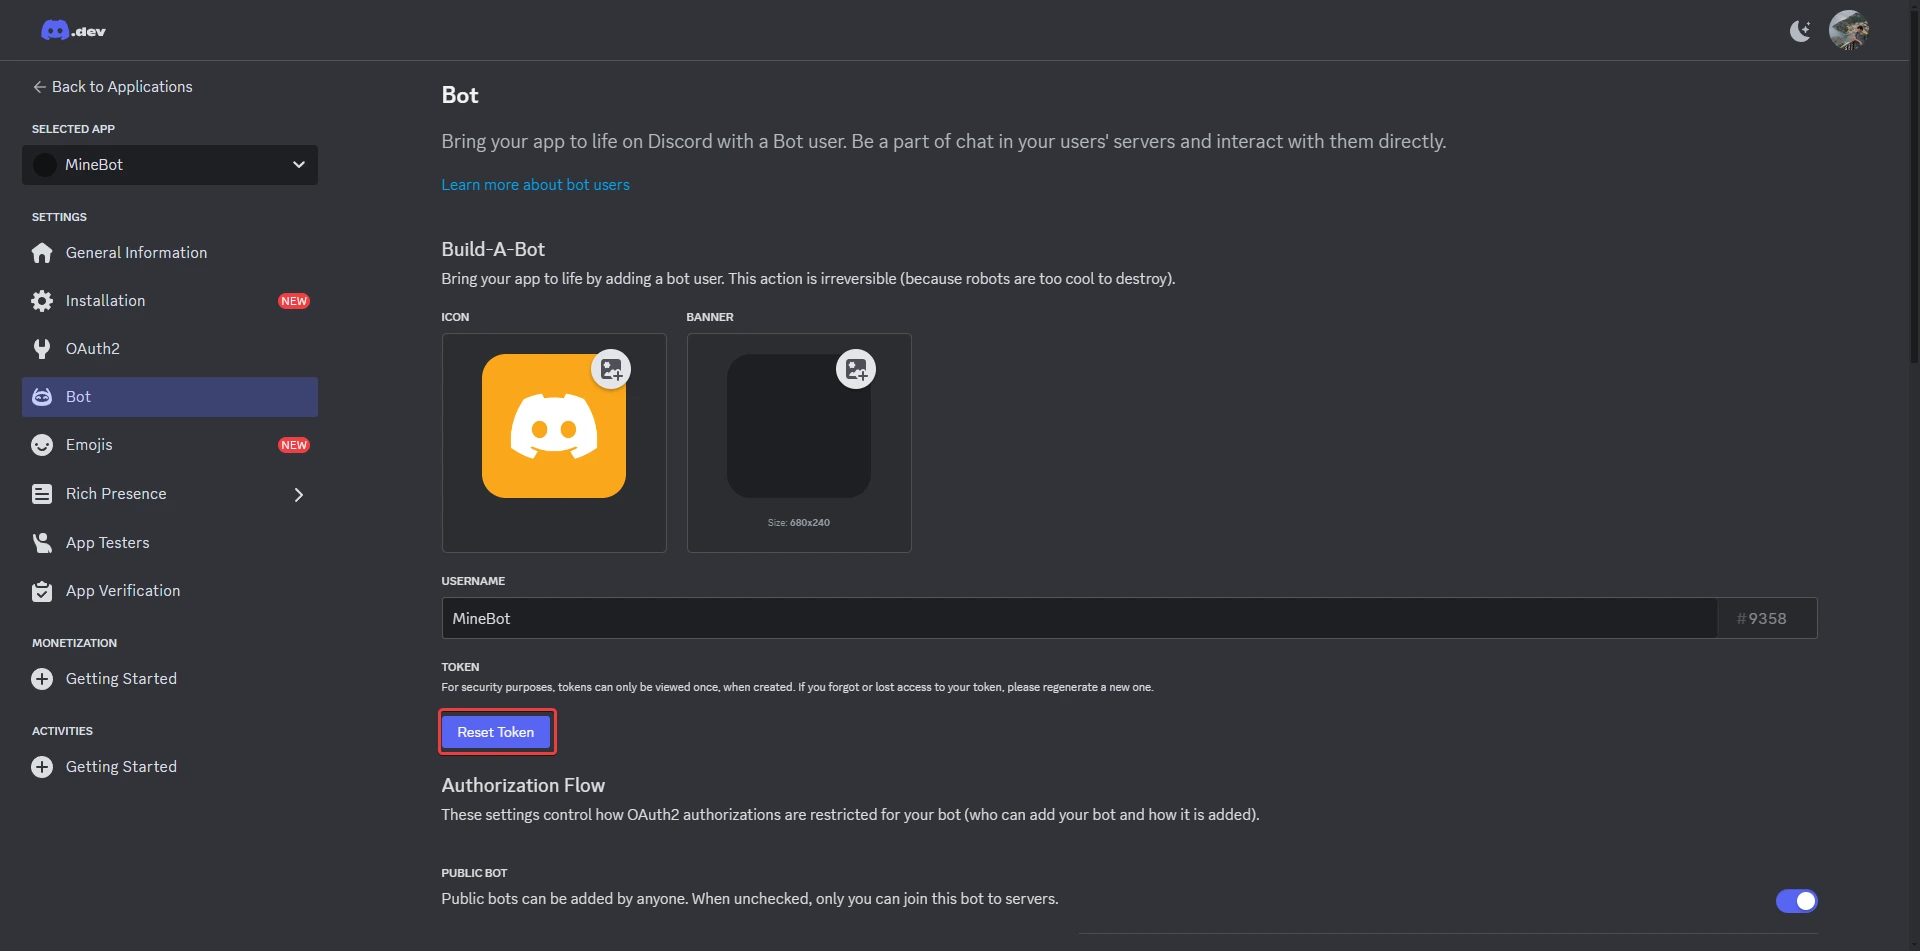
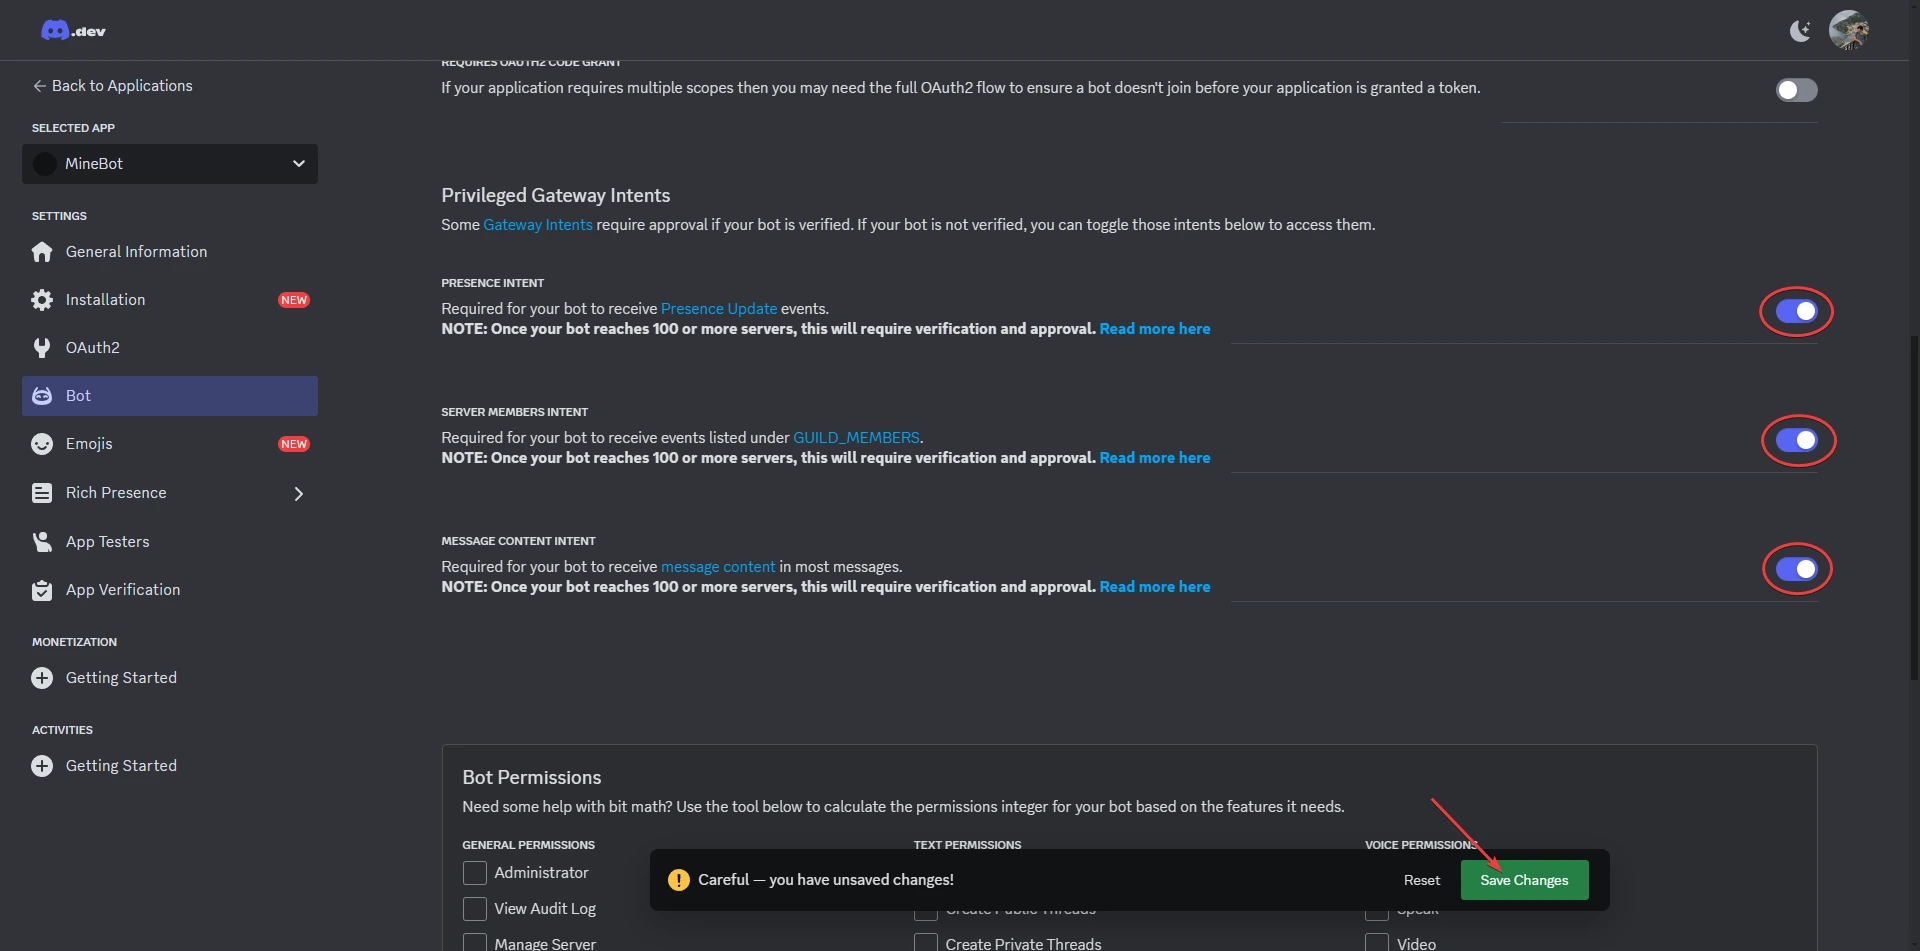
2. Setup A Discord Application
Create a new bot on Discord's developer portal using the instructions below.
Danger
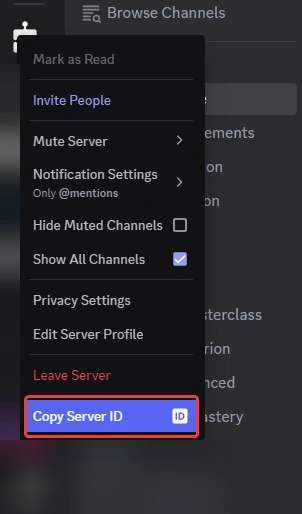
Before proceeding, enable Discord Developer Mode by navigating to Settings -> Advanced -> Developer Mode.
Anyone with access to this token has full access to your bot's account, you should ensure that nobody has access to this token but you. Treat it like a username/password combination, but for bots.

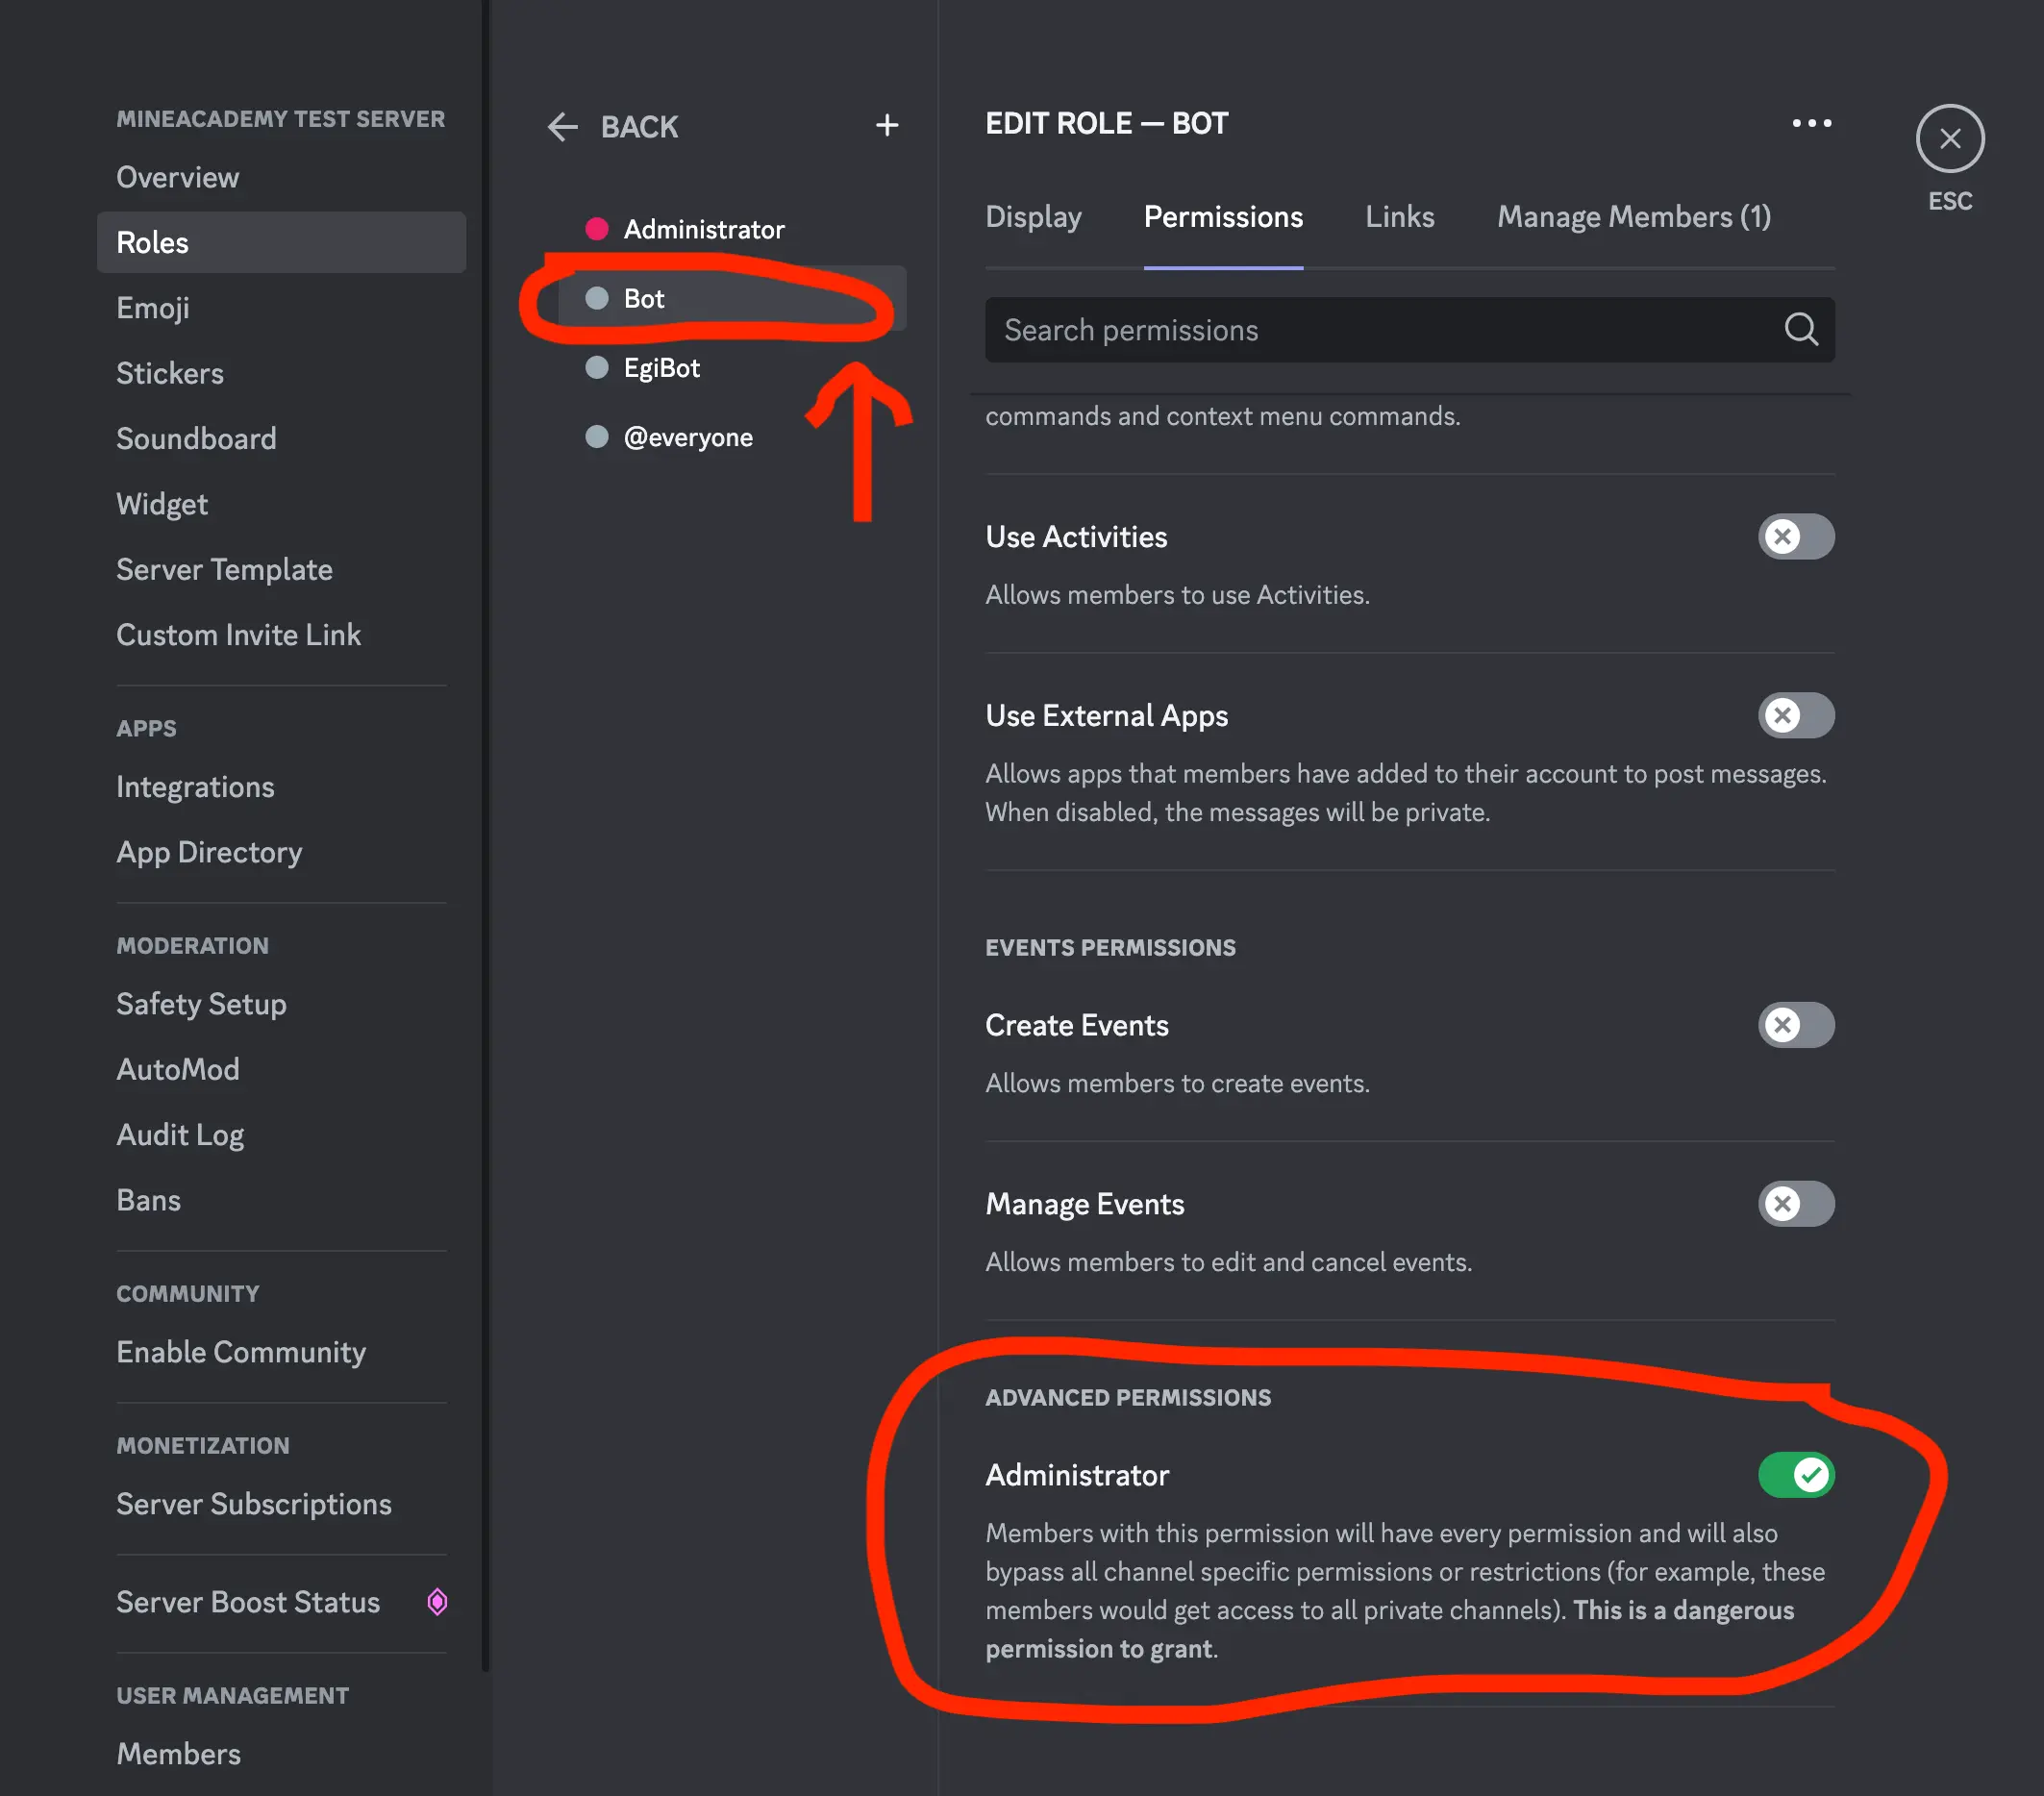
Invite the bot to your server and in the final screen, check all boxes to grant all of the permissions we've selected previously.
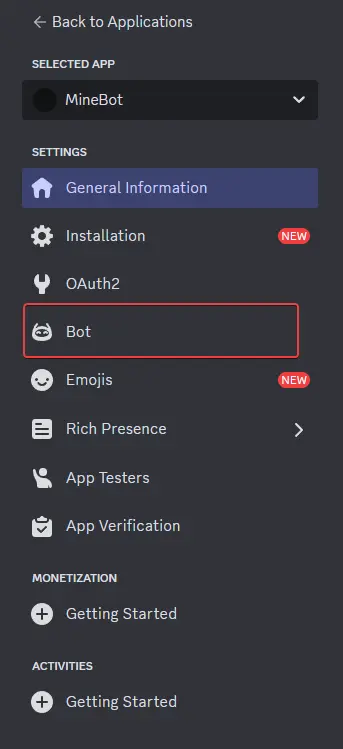


3. Run The Bot
Generate SSL Certificates
Before proceeding with MineBridge installation, you need to run MineBot once to generate necessary SSL certificates.
Start MineBot
Follow the instructions in the Running Guide to start your bot for the first time.
Verify Certificate Creation
After running, check that the certificate files have been generated in the configuration/certs/ folder.
Info
SSL certificates enable secure communication between MineBot and MineBridge. They are automatically generated the first time you run the bot, so this step is crucial for security.
4. Install MineBridge
Connect Your Bot to Minecraft
To integrate MineBot with your Minecraft server, follow these steps:
Set server name
Create a variable called server-name=SERVER NAME in server.properties
Move the MineBridge jar
Copy the MineBridge-X-X.jar file into your Minecraft server's plugins folder.
Copy SSL certificate
Copy the configuration/certs/X.crt file into your Minecraft server's plugins/MineBridge-X/certs folder.
Restart Your Minecraft Server
Restart your Minecraft server to load the MineBridge plugin.
Configure WebSocket Port
Open the file plugins/MineBridge-X/settings.yml on your Minecraft server and set the websocket.port to match the port specified in your MineBot's configuration/settings.yml under server.websocket.port.
Make sure to edit the websocket.host and websocket.password parameter to match the IP address of your MineBot's server.websocket.host and server.websocket.password.
Warning
server-name is not the generic name of your server, it is the name for that server only, for example survival, creative, etc.
Warning
Ensure the WebSocket port you configured is allowed through your firewall. If you're unsure or using a hosting provider, contact your hosting support to confirm which ports are available for use.